Data access within EPI2ME Labs
The Data Mount folder is the location within notebooks tutorials available for reading and writing data.
It provides an isolation from the rest of the file system, ensuring that any coding foibles
do not result in the accidental interference with files stored elsewhere on your computer. It also serves as output folder for
workflows (workflow inputs can be located anywhere on your computer).
By default, the Data Mount directory is set to the home directory. In order to set a different Data Mount directory,
just follow these simple steps:
1) Open the settings dialog

2) Browse to the folder you would like to set as your Data Mount and press OK.

3) The EPI2ME Labs environment will restart for the changes to take effect.

After the EPI2ME Labs environment has restarted, you will see a new folder within the Data Mount folder you specified called epi2melabs-data.
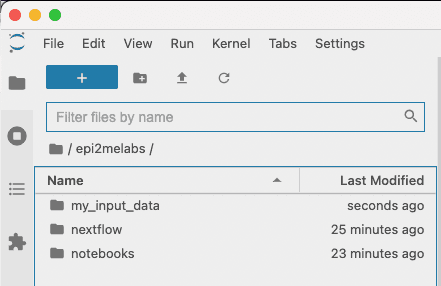
This is where the output data from tutorials and workflows will be saved. It is also where you must place any data files you wish to be available within the tutorials.

To enable notebook tutorials to access your input data, move it to epi2melabs-data and it will become visible within the
notebook interface file browser.

Summary
This small guide has shown you how to set up the Data Mount folder in EPI2ME Labs. The option is used to expose
only a specified location on your computer to the notebook environment to ensure any coding experiments you
undertake cannot make unwanted changes to important parts of your system. Experiment away!

