


Unexpected results, so now what?
July 02, 2024
3 min
For EPI2ME Labs version 3 and onward the setup of Windows Subsytem for Linux is automated provided users have an up-to-date version of Windows 10 or 11. These instructions are provided to aid users on older versions of Windows that cannot update. For users who can update we (and Microsoft) recommend doing so before attempting to use the method presented here. The simple wsl --install method should be used in most cases, which is the method used in the automated setup within EPI2ME Labs 3 and newer. The methods here are not officially supported.
It is easy to run and develop Nextflow workflows on Windows but there are some additional set up steps required. We have found the set up can be tricky so have outlined the steps required here with links to trouble shooting and further help.
This guide is similar to that presented at a guide from Nextflow which goes in to greater detail and has additional steps useful for developing workflows.
You will need Windows 10 and it is critical that you have Admin privileges for all the steps,
Check your windows version is sufficient
Enable Windows Subsystem for Linux (WSL).
If you have Windows 10 May 2020 (2004) update (or later) installed you can install WSL with a single command:
wsl.exe --install
If you have an earlier Windows version or the above has not worked continue following the steps -
dism.exe /online /enable-feature /featurename:Microsoft-Windows-Subsystem-Linux /all /norestart
dism.exe /online /enable-feature /featurename:VirtualMachinePlatform /all /norestart
Update to WSL2
Download this WSL2 update file and run through the installation wizard: wsl_update.msi
A guide to WSL installation troubleshooting can be found here.
Set WSL2 as the default version.
wsl --set-default-version 2
Download WSL Ubuntu
Check WSL version for Ubuntu installation
WSL installations come in two versions, creatively name 1 and 2. We must ensure the Ubuntu installation is set to version 2.
In Powershell run:
wsl --list –v
The response should look something like:
H:\> wsl --list -vNAME STATE VERSION* Ubuntu Running 2docker-desktop-data Running 2docker-desktop Running 2Ubuntu-18.04 Running 1
If a version is listed as 1 and not 2, change the version with
wsl --set-version <distribution name> <version>
For example to change the Ubuntu-18.04 installation above to version 2:
H:\> wsl --set-version Ubuntu 2
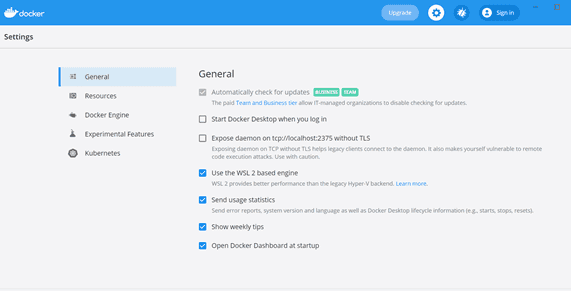
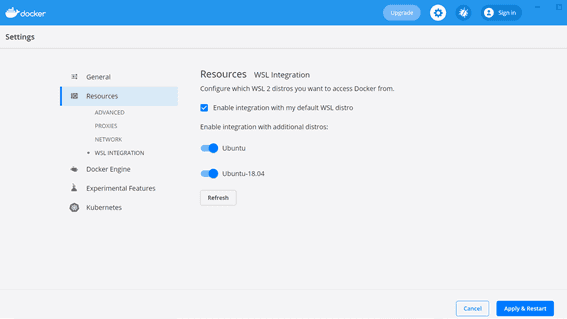
Set up Docker
wslsudo groupadd dockersudo usermod -aG docker $(whoami)
Enable WSL2 in docker
These docker instructions can also be found here
wsllsb_release -d
This will respond with something like:
Description: Ubuntu 20.04.3 LT0
Set WSL2 resource limits
It is important to configure docker resource limits so it does not use all available memory and cpu.
You will need to update a different file depending on if you want a global configurartion for all WSL distributions or a specific one for each distribution.
Global
C:/Users/<USERNAME>.wslconfigSpecific Distribution
/etc and open a file:cd /etcsudo vim wsl.conf
Copy and paste the following in to the respective file
[wsl2]memory=8GBprocessors=4localhostForwarding=true
Adjust settings in the config based on your available resources. To find out total available on your device you can CTRL-ALT-DELETE to open task manager, click performance tab and look at details of CPU and memory. Total no. of processors will be ‘logical processors’. Remember to leave some resource available for other programmes on your computer.
Save the file (in vim press Esc and type :wq!).
Shut down all running wsl instances via cmd line
wsl --shutdown
Now relaunch wsl and check resources are as expected using cmds
cat /proc/cpuinfocat /proc/meminfo
For more advanced settings see here
Install Java
To install Java into the WSL2 Ubuntu installation run (after starting WSL
with the wsl command):
sudo apt install openjdk-11-jre-headless
Download and install Nextflow
Nextflow can be installed following the instruction in their Getting started pages:
curl -s https://get.nextflow.io | bashmv nextflow /usr/bin/nextflowchmod +x /usr/bin/nextflow
nextflow self-update
Test nextflow
To test Nextflow we can run a simple workflow template.
git clone https://github.com/epi2me-labs/wf-template.git
nextflow run epi2me-labs/wf-template
OUTPUT=outputnextflow run epi2me-labs/wf-template \-w ${OUTPUT}/workspace \--fastq wf-template/test_data --out_dir wf-template/${OUTPUT}
If you had any problems with this tutorial or think any additional information would be useful then please let us know so we can improve it for other users.
Information